

")
No Churn Berry Ripple Ice Cream
This no churn berry ripple ice cream is impossibly creamy, bursting with vibrant berry flavour, and the best part? It’s surprisingly easy to make! In just 10 minutes of prep time, you can whip up this delicious dessert that rivals any fancy ice cream shop. Ready to learn how?
What is no churn ice cream?
No churn ice cream is ice cream that doesn’t require an ice cream machine, long churning time or even any eggs. The two main ingredients in no churn ice cream are double cream / heavy cream and sweetened condensed milk. The combination of these two ingredients, when whipped, makes a light and fluffy ice cream base ready to freeze and become the creamiest ice cream you’ve ever had!
What does Berry Ripple Ice Cream taste like?
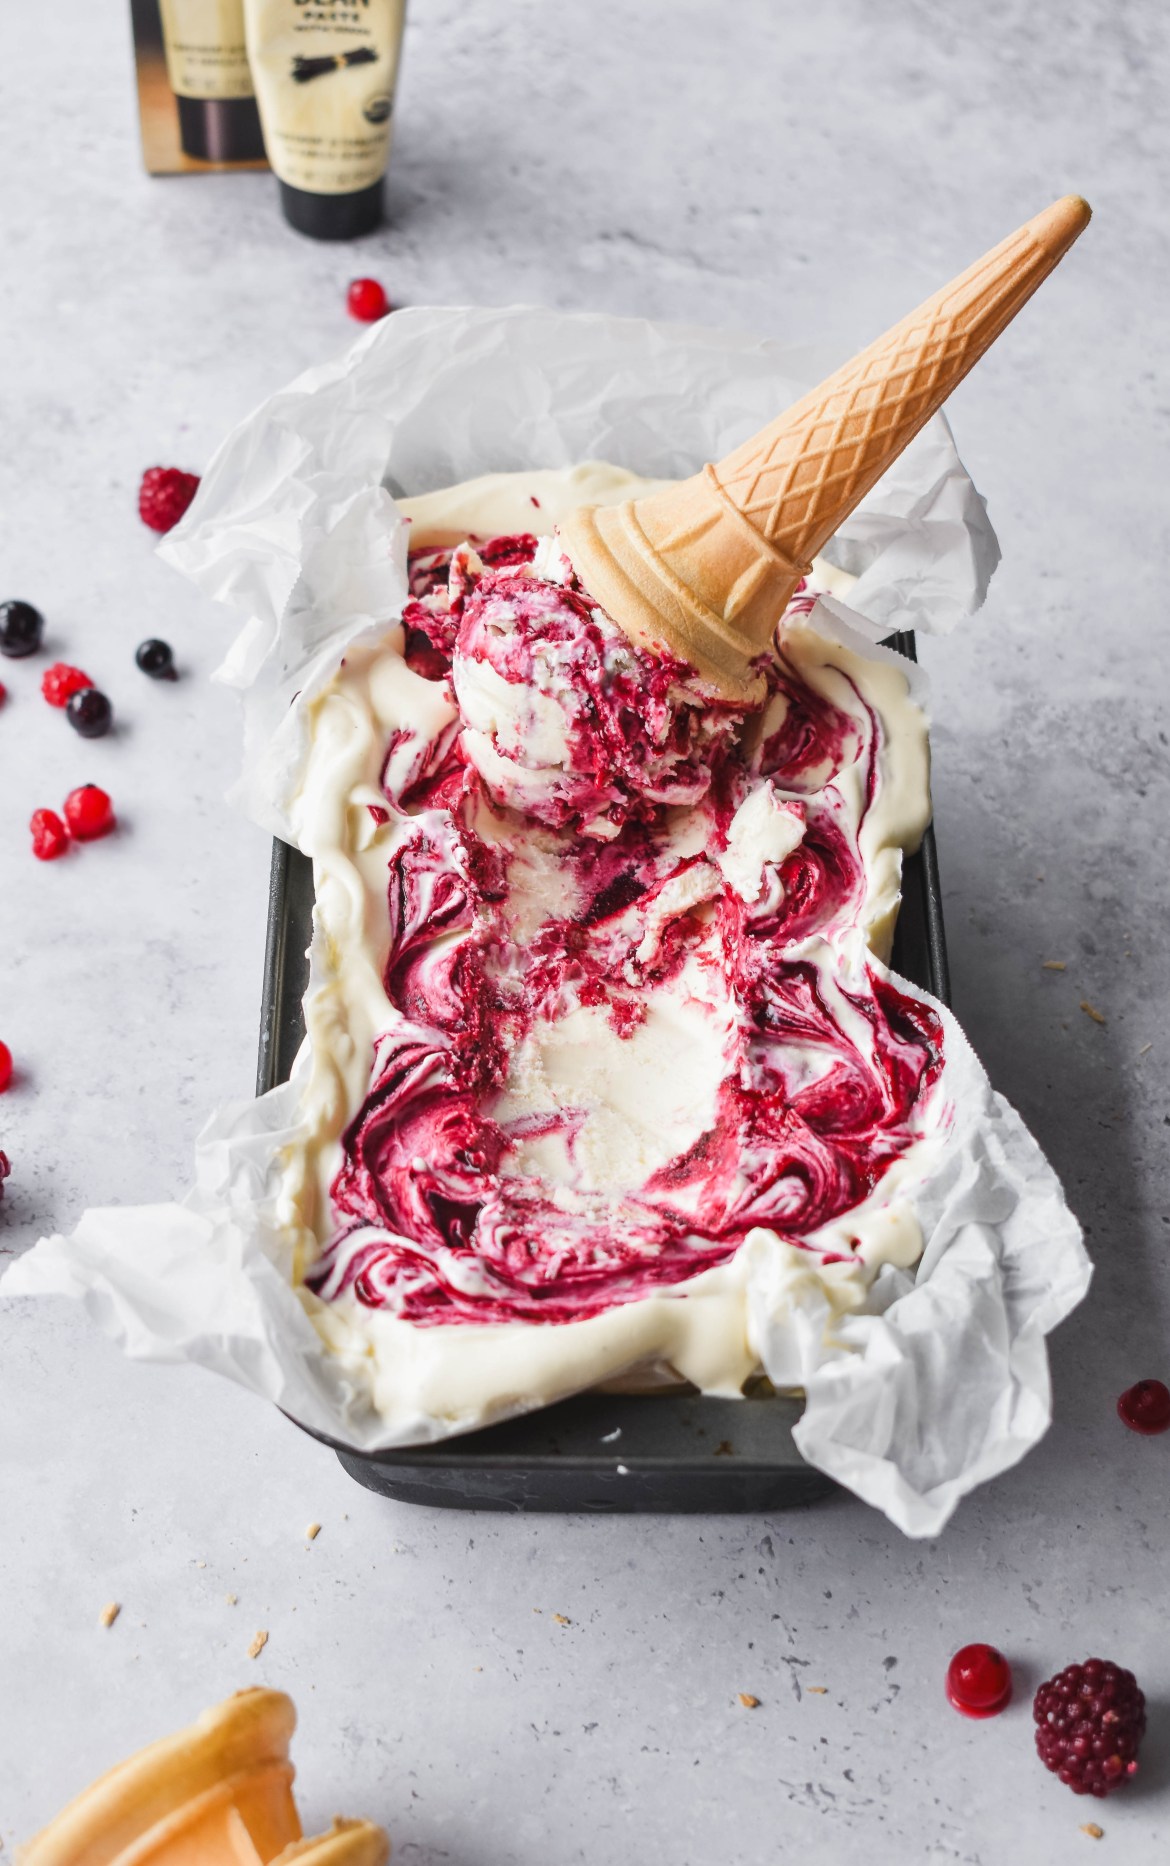
Berry ripple ice cream is a smooth, velvety vanilla base that melts in your mouth, with bursts of sweet and tart berry sauce. Each bite is a perfect balance of creamy richness and refreshing fruitiness. Think of a classic raspberry ripple screwball ice cream but elevated. This homemade version boasts a deeper, richer vanilla flavor and a more vibrant berry sauce, bursting with fresh summer berries. It’s the nostalgia of classic ice cream with a touch of gourmet indulgence.
How to make Berry Ripple Ice Cream
- In a medium saucepan, combine the frozen berries, sugar, lemon juice and salt. Cook for 8-10 minutes on a medium-low heat, stirring regularly, until the mixture thickens and most of the berries have broken down.
- Strain the berry mixture through a sieve with a spoon, pressing to extract as much sauce as possible. Until you have a smooth berry sauce and set aside to cool.
- In a large mixing bowl, whip the double cream / heavy cream until medium-soft peaks form. Aim for light and fluffy, not stiff.
- Gently fold in the sweetened condensed milk and vanilla paste until everything is combined and the ice cream base is ready.
- Prepare your loaf tin or dish by lining it with some scrunched-up parchment paper (this will make it easier to clean later).
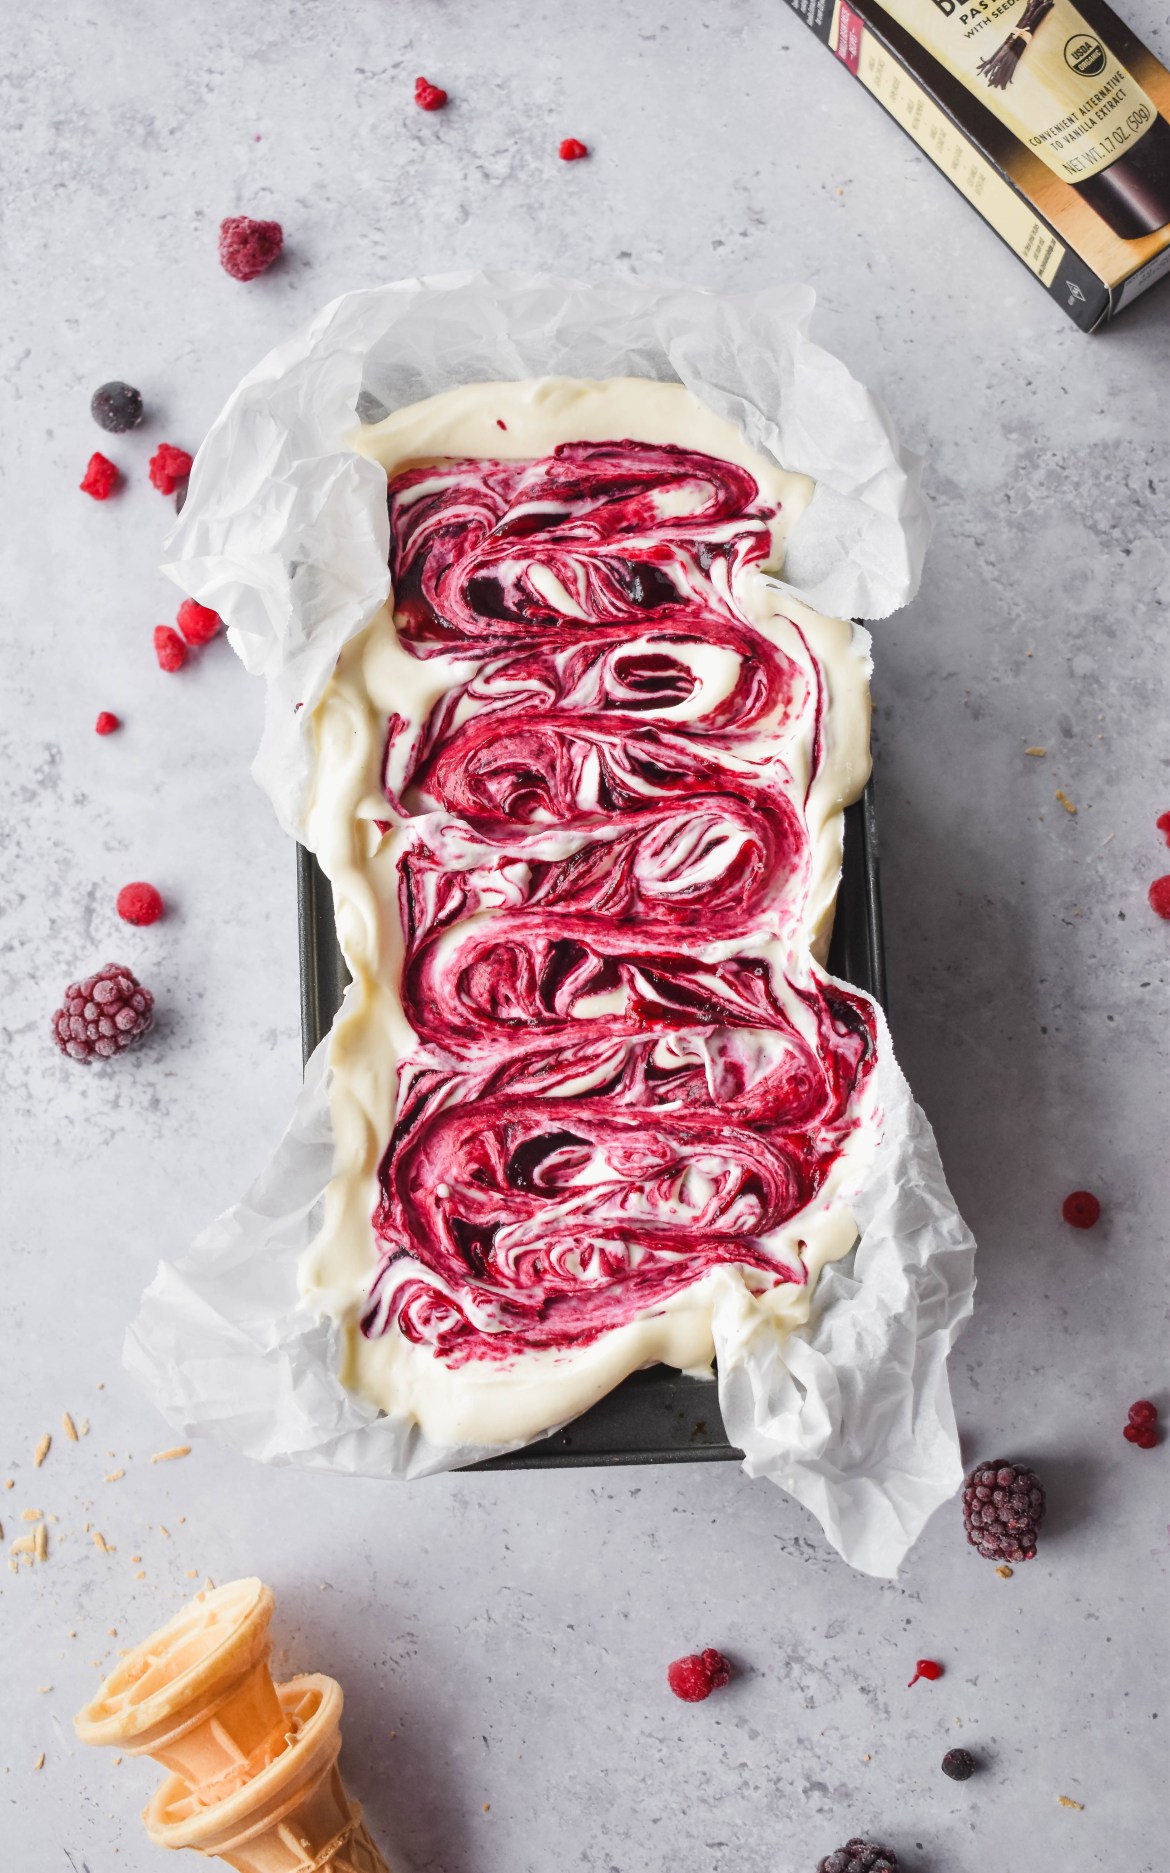
- Pour ⅓ of the ice cream base into the loaf pan and smooth it into an even layer. Then, top with a few spoonfuls of the berry mixture.
- Use a butter knife to swirl the berry sauce gently into the ice cream base. Repeat these steps, using ⅓ of the ice cream base and some berry sauce per layer, until all the ingredients are used.
- Freeze for 8 – 12 hours before serving and enjoy!
How do you make no churn ice cream creamy and not icy?
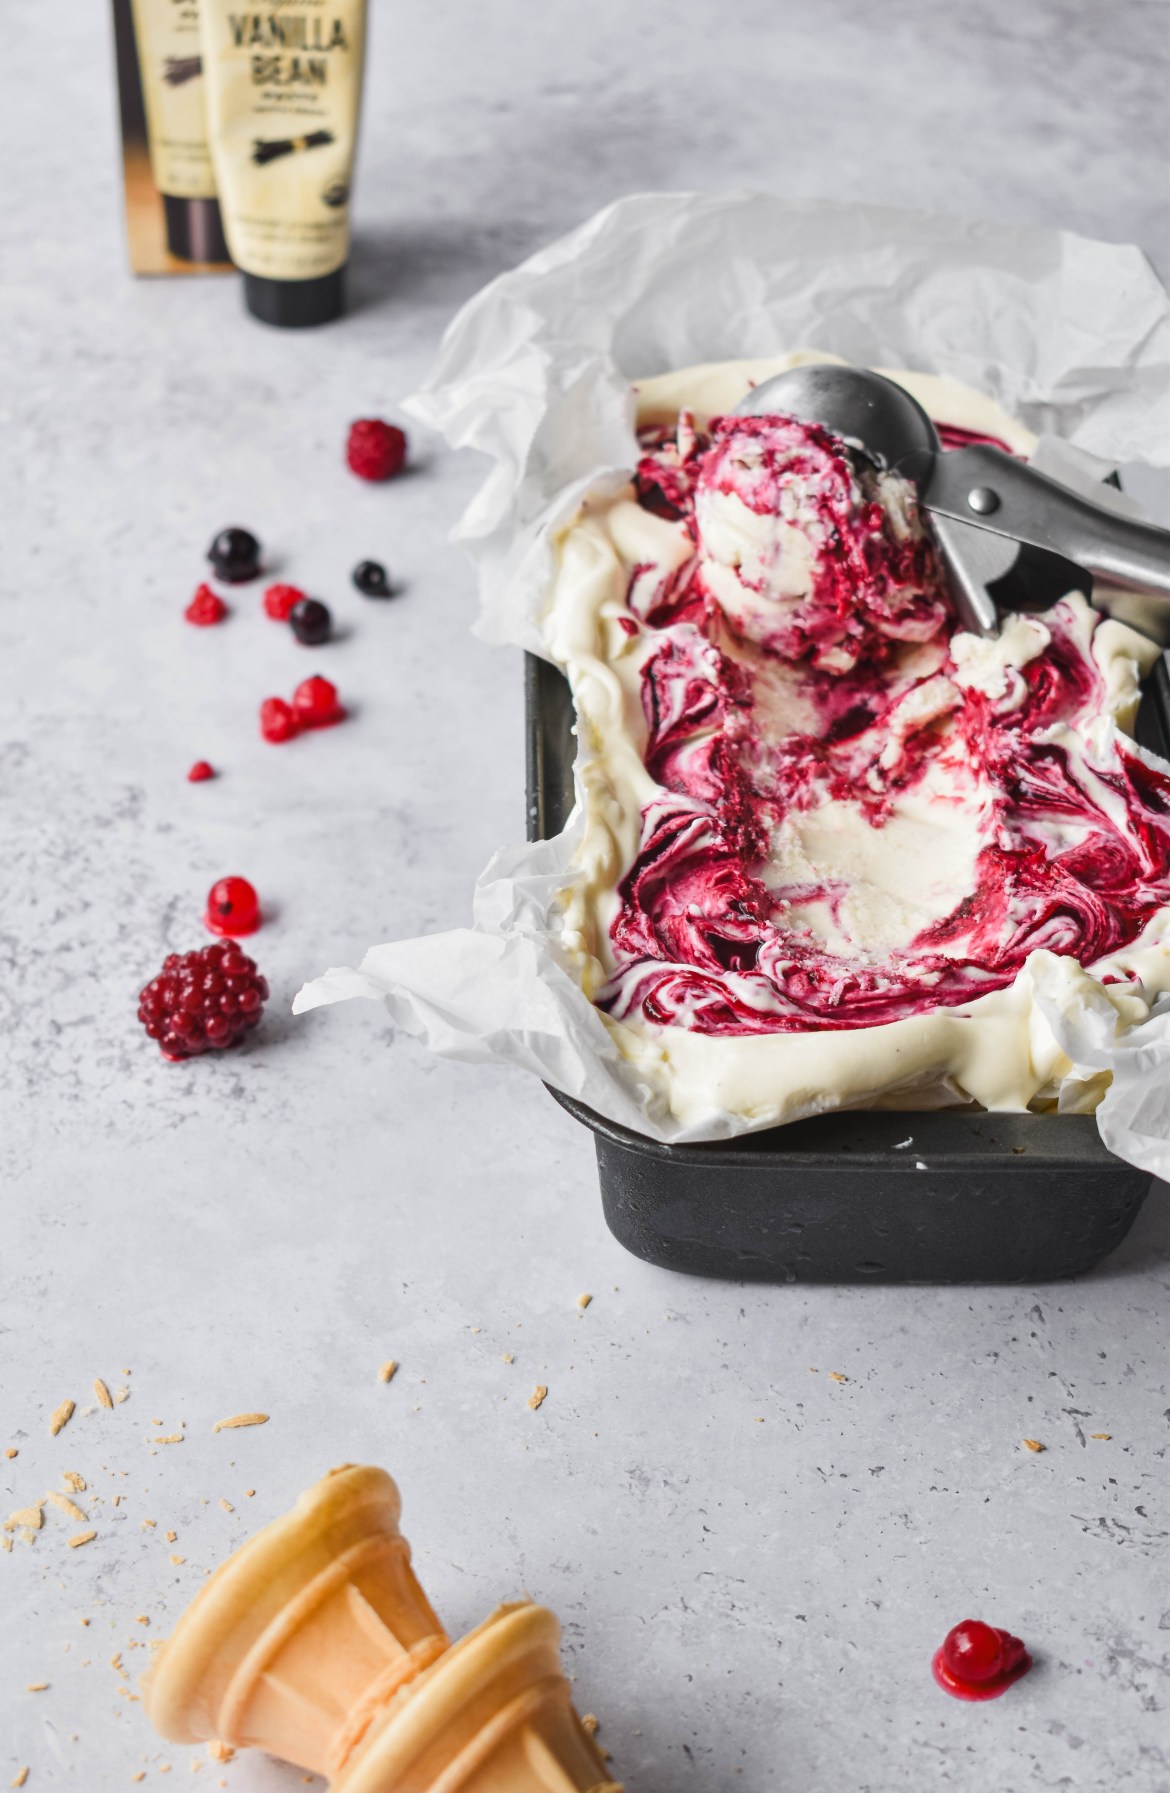
The secret ingredient that not only stops the ice cream from getting icy and adds a ton of flavour is: vanilla! The vanilla paste or extract lowers the freezing temp of the ice cream, making it slower to freeze and therefore, forming smaller ice crystals , ultimately making a smoother ice cream. The other ingredient that stops the ice cream from going icy is sweetened condensed milk, which softens the ice cream!
How long does no-churn ice cream last in the freezer?
Once your no-churn ice cream is frozen, pop it in an airtight container or wrap it well with plastic wrap. The ice cream will last for about 1 to 3 months if kept in the freezer and stored properly. A word of caution, if the ice cream melts completely after it has frozen solid, do not refreeze it, it is no longer safe to eat!
What does no-churn ice cream mean?
Unlike traditional ice cream recipes, no-churn versions don’t require churning during the freezing process. This makes them ideal for those who don’t have an ice cream maker or prefer a simpler method. While no-churn ice cream achieves a creamy texture, it might be slightly denser compared to ice cream made with an ice cream maker due to the lack of churning.
Ingredient Notes
The ingredients that go into this Berry Ripple Ice Cream
Double Cream / Heavy Cream – is the perfect base for creamy and rich no churn ice cream
Sweetened Condensed Milk – will sweeten the berry ripple ice cream, bind everything together and soften the ice cream
Vanilla Paste – adds so much flavour, depth and that classic vanilla smell – not to mention that it keep the ice cream from getting icy
Frozen Berries – I love using real berries, for a rich and vibrant flavour and gorgeous purple color
Sugar – to add more much needed sweetness to the berry sauce
Salt – balances everything out and makes sure the ice cream isn’t too sweet
Lemon Juice – will help give the berry component a bright color and add some tartness

Tips and Tricks – Berry Ripple Ice Cream
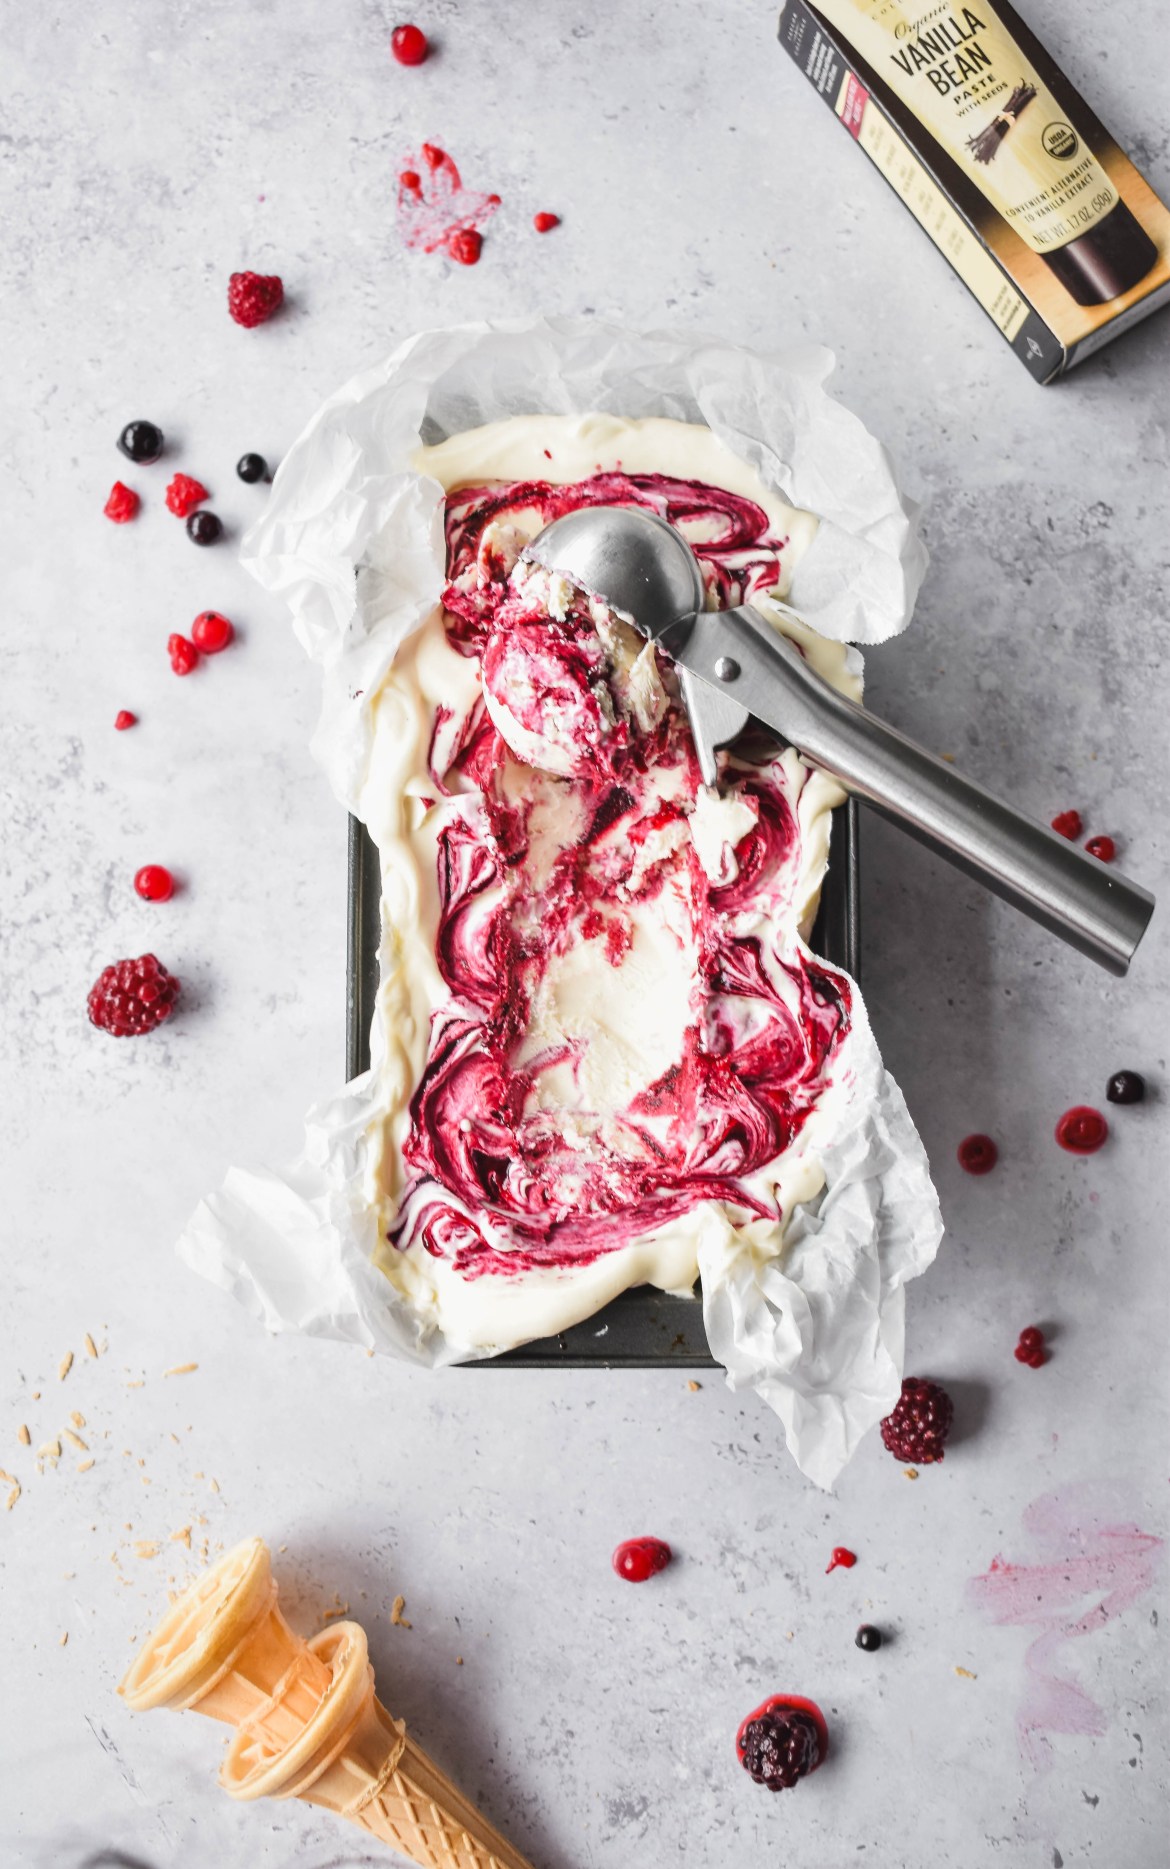
- Always let the ice cream sit out for a couple of minutes to soften, before scooping.
- Place your ice cream scoop into a mug of hot water for a couple of minutes before scooping, this will not only make the ice cream easier to serve, but also make the ice cream scoops more even and round.
- Using some scrunched up parchment paper to line the tin you put the ice cream into, will make clean up super easy!
- The recipe video is on my TikTok and IG – please tag @aceofspoons_ if you make this recipe

Berry Ripple Ice Cream
Equipment
- Large bowl
- Hand whisk or Stand mixer
- Saucepan
- Loaf pan or Dish
Ingredients
No Churn Ice Cream Base
- 600 ml double cream / heavy cream (2 1/2 cups)
- 1 tin condensed milk (397 ml)
- 2 tsp vanilla paste (or extract)
Berry Sauce
- 250 g frozen mixed berries (1 1/3 cups)
- 50 g white sugar (1/4 cup)
- Juice of half a lemon
- Pinch of salt
Instructions
- In a medium saucepan, combine the frozen berries, sugar, salt and lemon juice. Cook for 8-10 minutes on a medium-low heat, stirring regularly, until the mixture thickens and most of the berries have broken down.
- Strain the berry mixture through a sieve with a spoon, pressing to extract as much sauce as possible. Until you have a smooth berry sauce and set aside to cool.
- In a large mixing bowl, whip the double cream / heavy cream until medium-soft peaks form. Aim for light and fluffy, not stiff.
- Gently fold in the sweetened condensed milk and vanilla paste (or extract) until everything is combined and the ice cream base is ready.
- Prepare your loaf tin or dish by lining it with some scrunched-up parchment paper (this will make it easier to clean later).
- Pour ⅓ of the ice cream base into the loaf pan and smooth it into an even layer. Then, top with a few spoonfuls of the berry mixture.
- Use a butter knife to swirl the berry sauce gently into the ice cream base. Repeat these steps, using ⅓ of the ice cream base and some berry sauce per layer, until all the ingredients are used.
- Freeze for 8 – 12 hours before serving and enjoy!
Notes
- Always let the ice cream sit out for a couple of minutes to soften, before scooping.
- Place your ice cream scoop into a mug of hot water for a couple of minutes before scooping, this will not only make the ice cream easier to serve, but also make the ice cream scoops more even and round.
- Using some scrunched up parchment paper to line the tin you put the ice cream into, will make clean up super easy!
- The recipe video is on my TikTok and IG – please tag @aceofspoons_ if you make this recipe