No Bake Lemon Curd Cheesecake
If you love lemon desserts but often find them too sour, too bitter, too sweet or just not quite sweet enough — this no-bake lemon curd cheesecake was made for you. It strikes the perfect balance: between being rich, creamy, and sweet, while still being vibrant, zesty and bright.
It’s the easiest lemon dessert you’ll ever make — and it’s so addictive, you’ll find yourself making it again and again.

The secret to that perfect lemon cheesecake flavor?
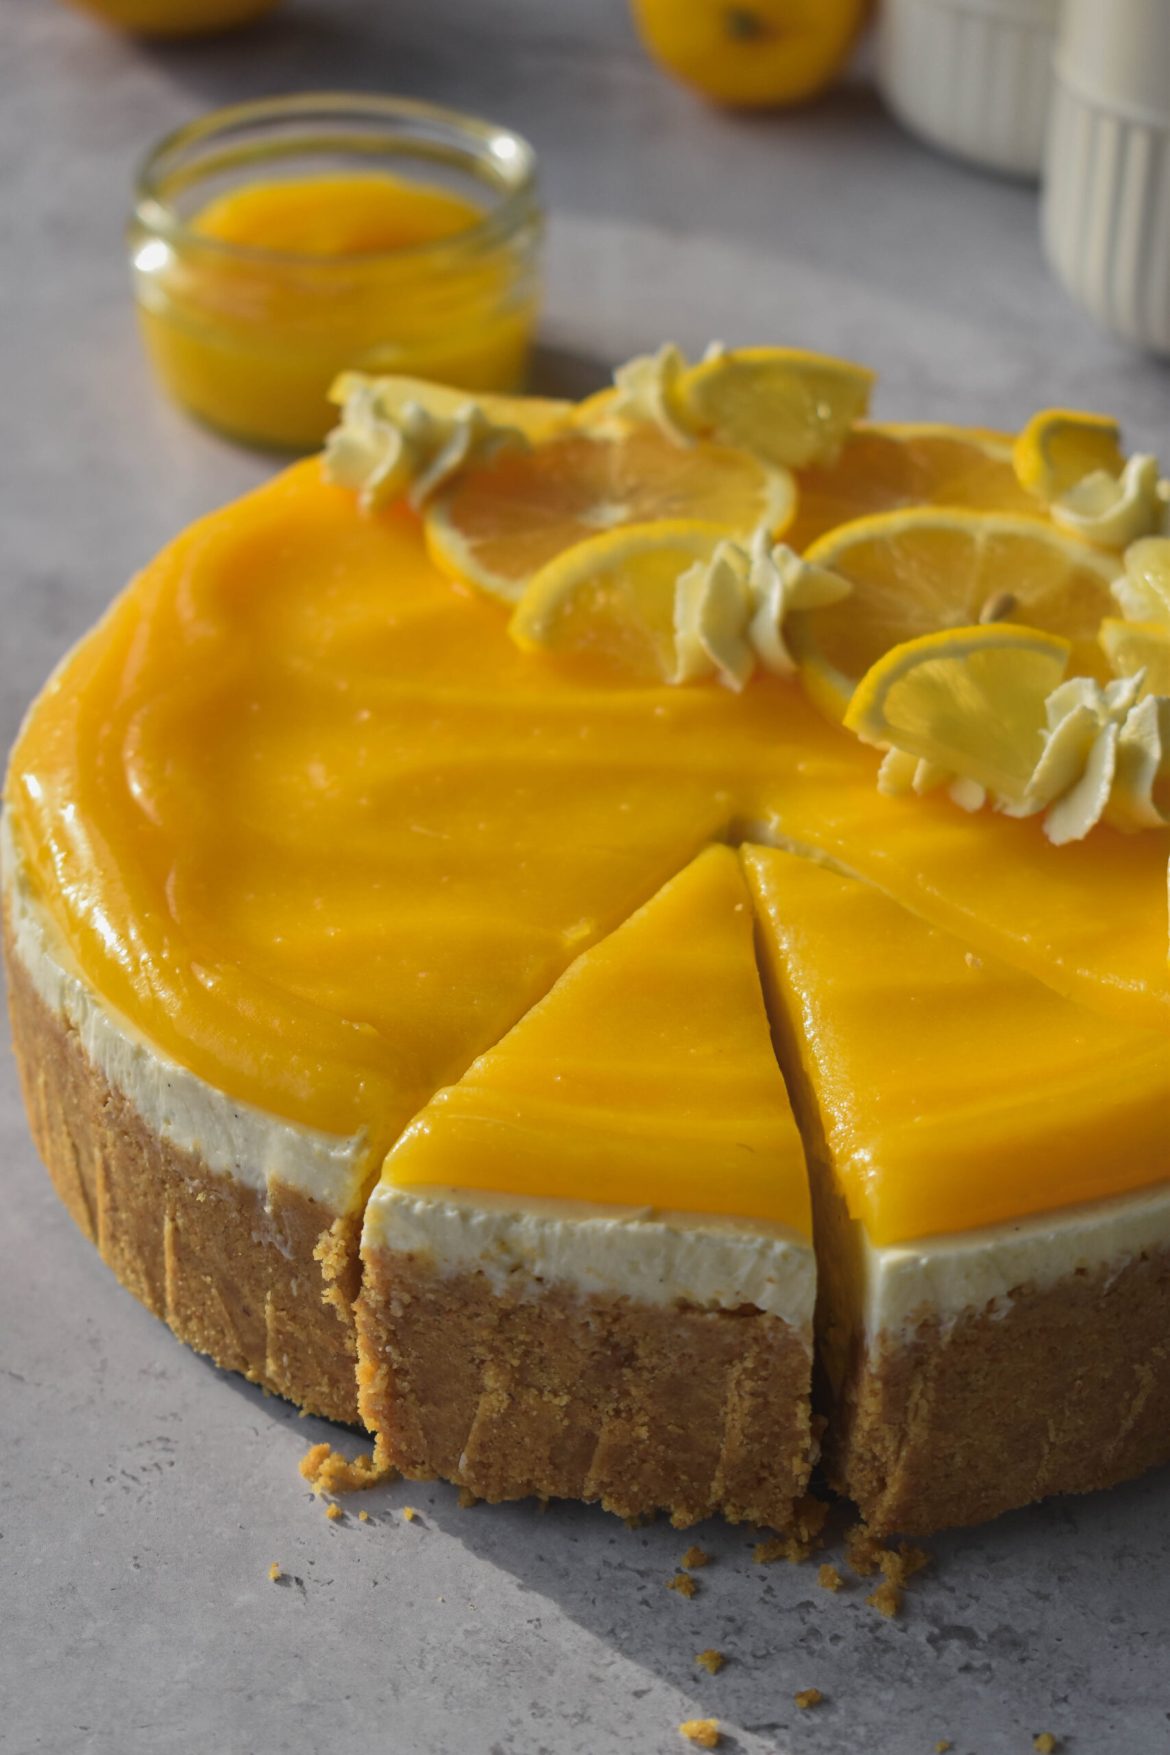
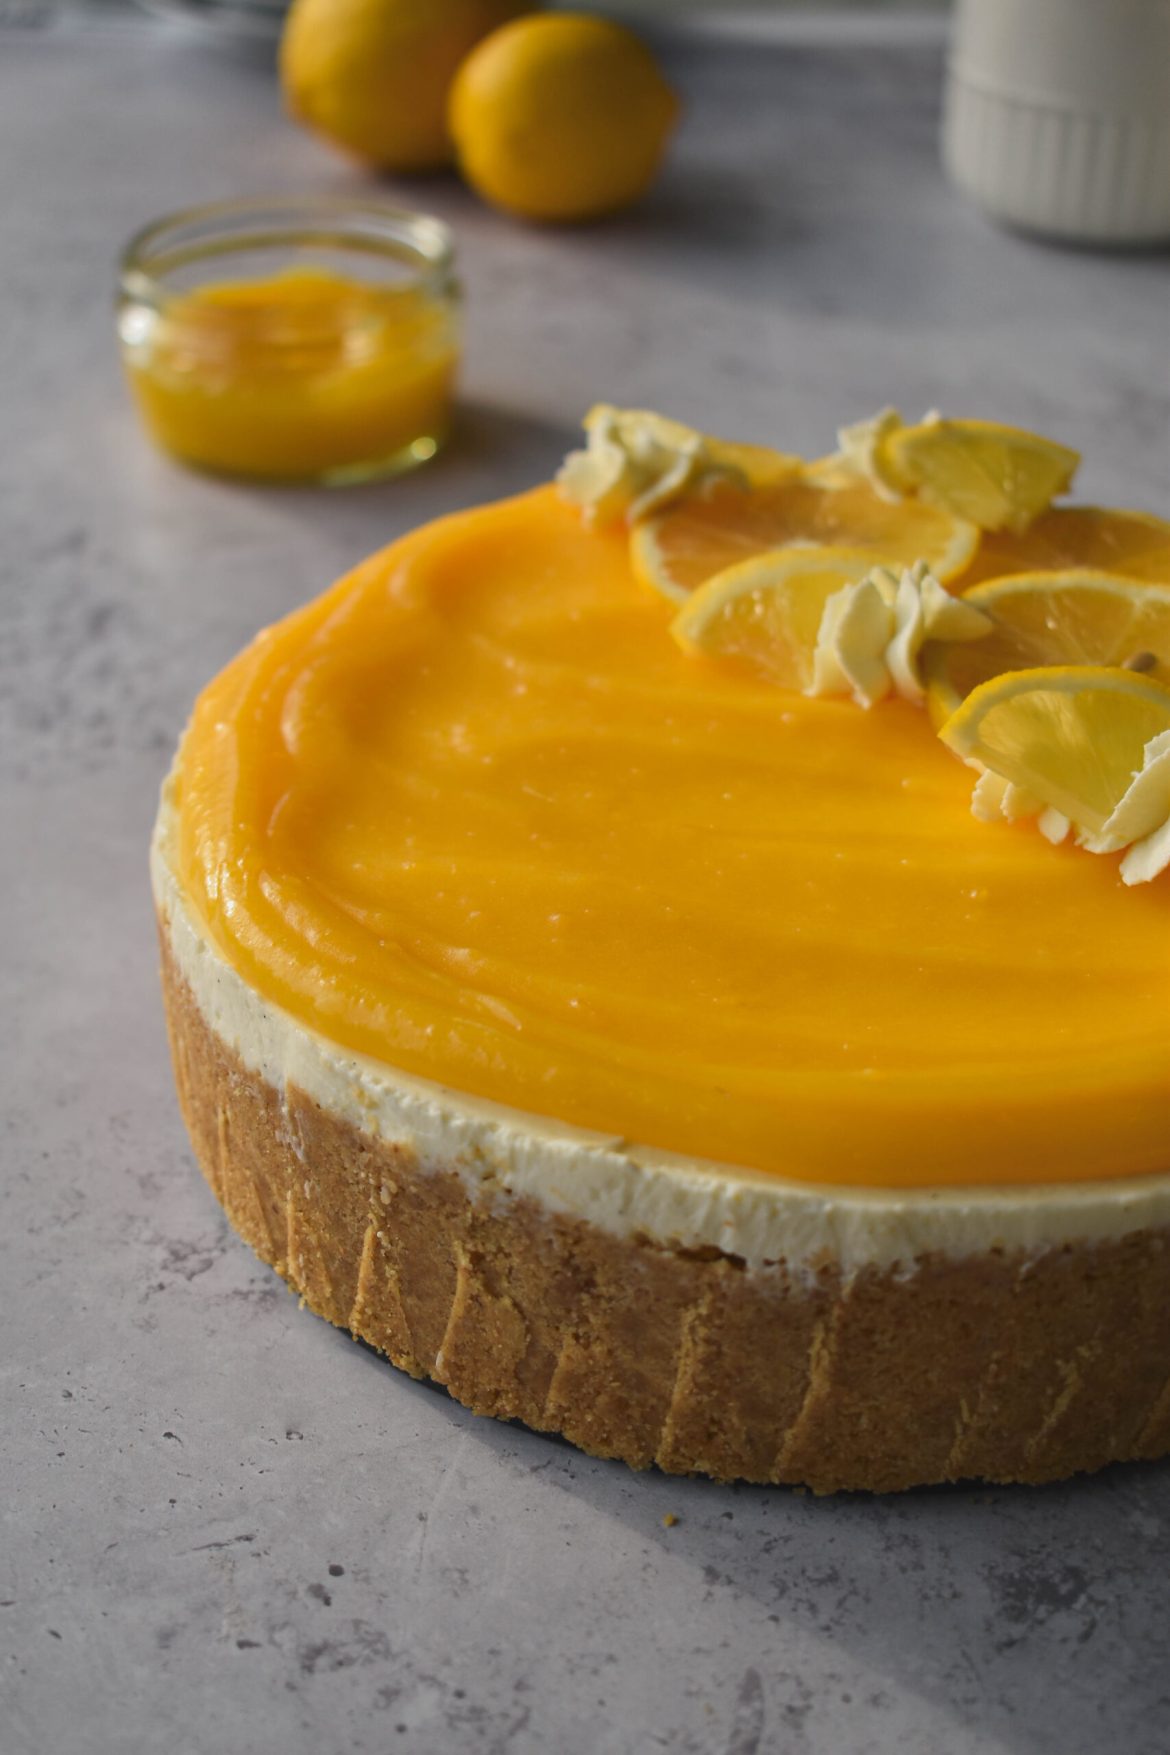
Instead of making a lemon cheesecake base, we go with a smooth vanilla one instead and top it with a sunny, bright lemon curd topping. This results in a citrusy, fresh lemon cheesecake that’s full of flavour, yet so creamy, rich, and moreish you’ll be going back for seconds.
Why You’ll Love This No-Bake Lemon Curd Cheesecake
Now while there are many reasons to love his rich, vibrant and zesty lemon curd cheesecake, here are a few of my faves:
- No baking required – it’s quick, simple, and requires no oven. Making it the perfect dessert for spring and summer.
- Lots of Lemon flavour – a lemon dessert that actually has all the bright, tangy, lemon notes you’re looking for.
- Sweet and tangy balance – the vanilla cheesecake base contrasts beautifully with the tart zesty lemon curd, to create a cheesecake that is sour, sweet and perfectly balanced.
- Make-ahead friendly – perfect for prepping in advance, especially for long hot summer days!

Ingredient Notes – No Bake Lemon Curd Cheesecake
Here’s what you’ll need to make the best No-Bake Lemon Curd Cheesecake:
Digestive biscuits or Graham crackers – of course we need biscuits for the biscuit base! But feel free to use any dry, sweet biscuits of your choice.
Cream Cheese – will be the base for the cheesecake.
Double Cream / Heavy Cream – for the cheesecake filling!
Vanilla Extract – adds that classic vanilla flavour.
Salt – to balance everything out.
Lemon Juice – helps set the cheesecake without gelatine.
Melted Butter – for the crisp buttery base.
Icing Sugar + Sugar – to sweeten the cheesecake filling and base with.
Lemon curd – glossy, tangy, and irresistible, it’s the perfect topping for this cheesecake. Use store-bought or homemade (recipe below!).

What is no bake cheesecake?
No bake cheesecake is a simpler, creamier, softer version of a regular cheesecake. Since there is no baking required it also means that is A LOT easier than a standard baked cheesecake. Baked cheesecakes have a silky texture that is quite firm, while no bake cheesecakes are soft, and super light. Personally, I am a big fan of both!
How to make the best No Bake Lemon Curd Cheesecake
Prepare the Crust
- Crush the biscuits into fine crumbs using a food processor or a rolling pin and food bag
- In a mixing bowl, combine the crumbs with melted butter and sugar. Mix until the texture resembles wet sand
- Press the mixture into the base (and slightly up the sides) of a greased 8 or 9-inch springform pan or loose bottomed cake tin
- Place the crust into the fridge or freezer for 10–20 minutes while preparing the filling
Make the Filling
- In a large bowl, using a handmixer, stand mixer or whisk, beat the softened cream cheese for around 3-5 mins, until smooth and creamy
- Add in the icing sugar, caster sugar, salt, vanilla extract and lemon zest (optional). Gently combine together until fully combined and well incorporated
- In a separate bowl, using a handmixer, stand mixer or whisk, whip the double cream until stiff peaks form
- Gently fold ⅓ of the whipped cream into the cream cheese to loosen it, then gently fold in the rest of the cream, until fully combined.
- Pour the lemon juice into the cheesecake mixture and gently fold. You should end up with a mixture that is smooth, light and airy.
Assemble, Chill & Decorate
- Spoon the cheesecake filling onto the chilled base and smooth it out into an even layer
- Cover and refrigerate for at least 6–8 hours, or ideally overnight, until fully set
- Once set, spoon the lemon curd over the top and gently spread it into an even layer
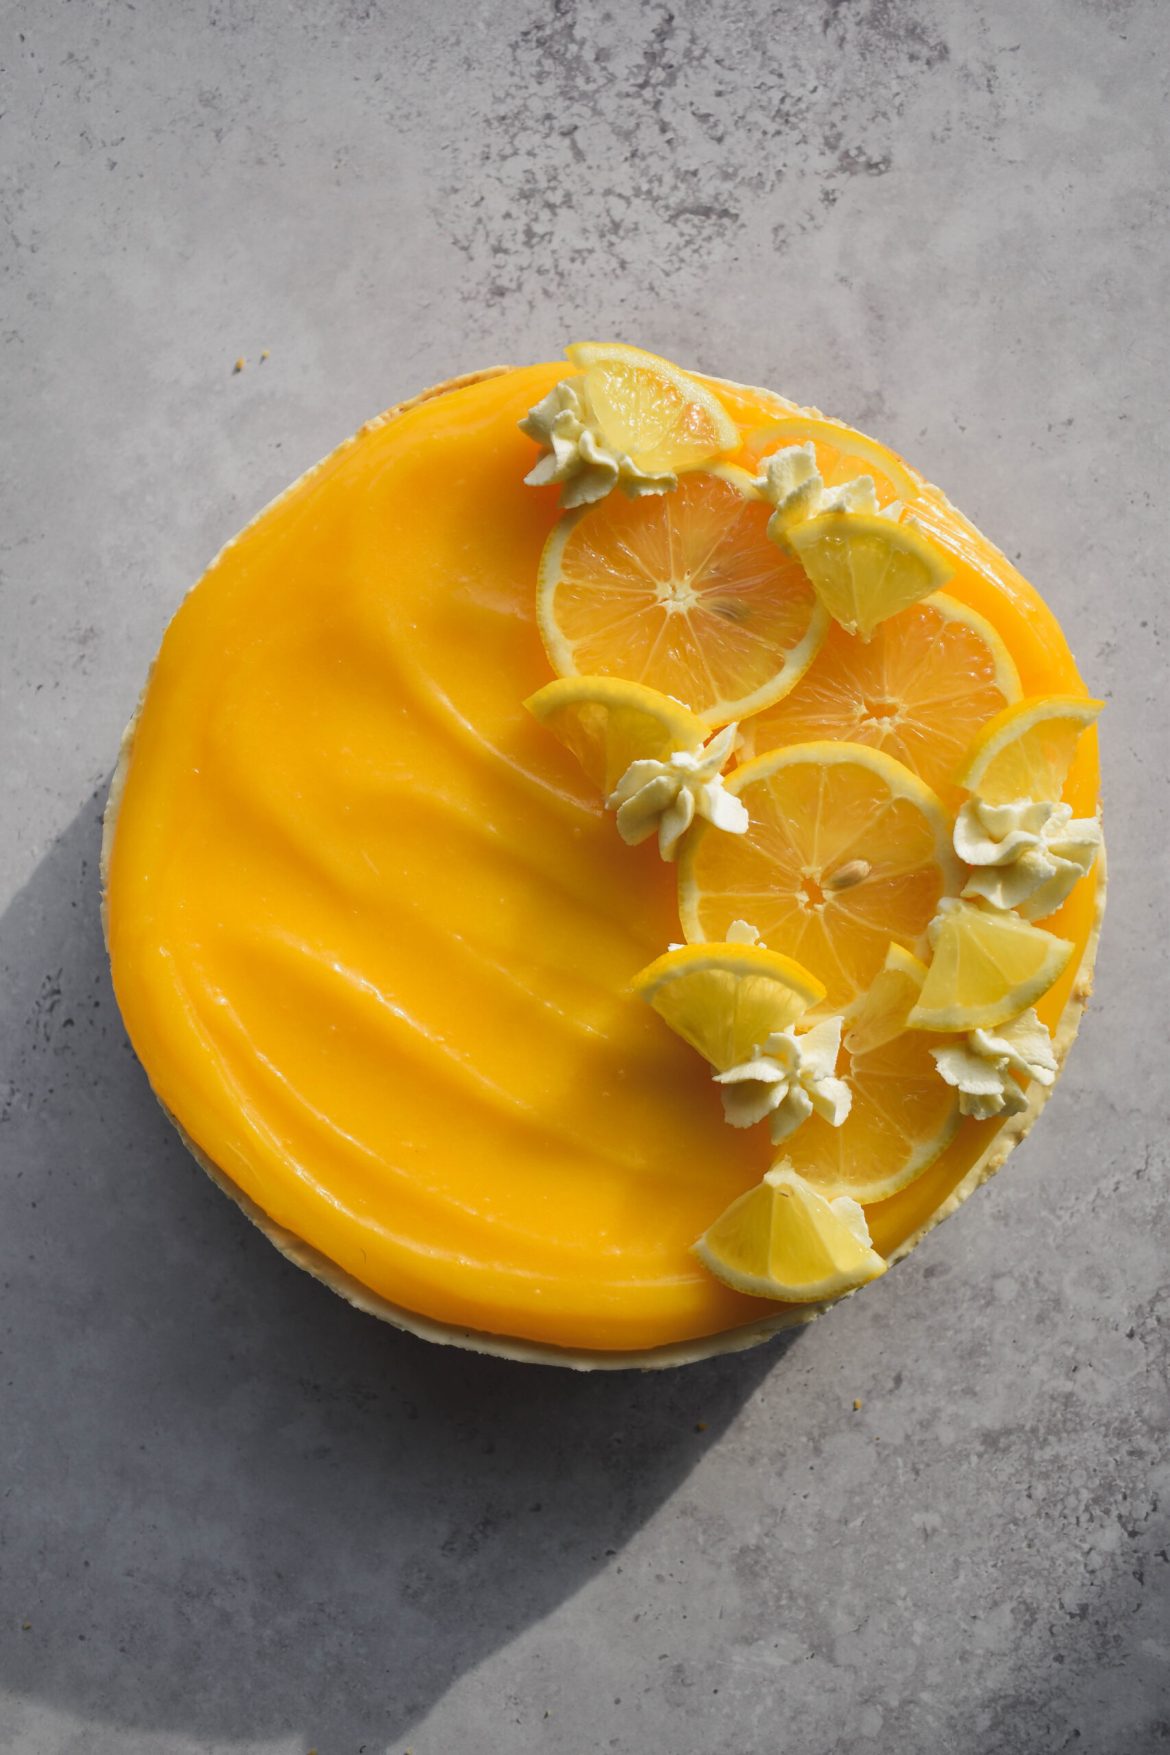
- Decorate with thin lemon slices and dollops of whipped cream — or anything else you fancy!
- Return to the fridge for at least 15 – 20 minutes to help the curd firm up slightly, this will make it easier to slice
- Then simply slice, serve, and enjoy!

How do you remove a no-bake cheesecake from the pan?
Whether you are using a springform or loose bottomed cake pan, the best way to remove your cheesecake from the pan, is to use a small sharp paring knife and run it along the edge of your cheesecake, to release the cheesecake.
Once released you can unlock the springform pan or, if using a loose bottomed pan, then place a tin underneath the cheesecake and slide the ring of the pan down gently. If you wish to remove the base, simply use the same clean, small sharp paring knife and run it between the base of the cheesecake and the base of the pan to release it.
Will no-bake cheesecake firm up in the fridge?
Yes! This no-bake lemon curd cheesecake will set up nicely in the fridge, and have a light, soft and almost mousse-like texture. You should allow no bake cheesecake to set up for at least 6 – 8 hours or, for best results, refrigerate overnight. The longer you allow it to sit in the fridge, the better it will taste and the firmer it will be.
How long does a No Bake Lemon Curd Cheesecake last?
This no bake cheesecake is the perfect dessert to make ahead of time because it stores so well. You can store any leftovers in the fridge, in an airtight container or, on a plate or a tray covered in plastic wrap, for up to 5 days.

Tips and Tricks – No Bake Lemon Curd Cheesecake
- Chill the cheesecake as long as possible – the cheesecake needs to chill for at least 6 – 8 hours, ideally overnight. Basically the longer it chills the better it will taste.
- Use room temperature cream cheese – this makes all the difference. Using room temp cream cheese, will ensure the cheesecake filling is super smooth.
- Don’t overmix the no bake cheesecake filling – overmixing the cheesecake filling will make the cheesecake tough, instead of light and mousse like.
- Use a sharp + clean knife – helps you get even clean slices, that looks super professional!
- The recipe video is on my TikTok and IG – please tag me @aceofspoons if you make this recipe!


No Bake Lemon Curd Cheesecake
Equipment
- 8 – 9 inch loose bottomed or spring form cake tin
- Stand Mixer / Hand Mixer or Whisk
- 2 Large bowls
- Rubber Spatula
Ingredients
Cheesecake Crust
- 250 g digestive biscuits or graham crackers
- 80 g melted butter
- 2 tbsp white sugar
Cheesecake Filling
- 500 g full fat cream cheese
- 250 ml double cream / heavy cream
- 50 g white sugar
- 60 g icing sugar / powdered sugar
- 2 tbsp lemon juice
- zest of one lemon (optional)
- 1/4 tsp salt
- 2 tsp vanilla extract
Toppings – Decorations
- 200 – 250 g lemon curd – (about half a jar) You can find the recipe below! 🙂
- Whipped cream
- Lemon slices
Instructions
Cheesecake Crust
- Crush the biscuits using a food processor or a rolling pin and food bag, into fine crumbs
- In a large mixing bowl, combine the crumbs with melted butter and sugar. Mix until the texture resembles wet sand
- Press the mixture into the base (and slightly up the sides) of a greased 8 or 9-inch springform pan or loose bottomed cake tin
- Place the crust into the fridge or freezer for 10–20 minutes while preparing the filling
Cheesecake Filling
- In a large bowl, using a hand-mixer, stand mixer or whisk, beat the softened cream cheese for around 3-5 mins, until smooth and creamy
- Add in the icing sugar, caster sugar, salt, vanilla extract and lemon zest (optional). Gently combine together until fully combined and well incorporated
- In a separate bowl, using a hand-mixer, stand mixer or whisk, whip the double cream until stiff peaks form
- Gently fold ⅓ of the whipped cream into the cream cheese to loosen it, then gently fold in the rest of the cream, until fully combined
- Pour the lemon juice into the cheesecake mixture and gently fold. You should end up with a mixture that is smooth, light and airy
Assemble and Decorate the Cheesecake
- Spoon the cheesecake filling onto the chilled base and smooth it out into an even layer
- Cover and refrigerate for at least 6–8 hours, or ideally overnight, until fully set
- Once set, spoon the lemon curd over the top and gently spread it into an even layer
- Decorate with thin lemon slices and dollops of whipped cream — or anything else you fancy!
- Return to the fridge for at least 15 – 20 minutes to help the curd firm up slightly, this will make it easier to slice
- Then simply slice, serve, and enjoy!
Notes
- Chill the cheesecake as long as possible – the cheesecake needs to chill for at least 6 – 8 hours, ideally overnight. Basically the longer it chills the better it will taste.
- Use room temperature cream cheese – this makes all the difference. Using room temp cream cheese, will ensure the cheesecake filling is super smooth.
- Don’t overmix the no bake cheesecake filling – overmixing the cheesecake filling will make the cheesecake tough, instead of light and mousse like.
- Use a sharp + clean knife – helps you get even clean slices, that looks super professional
- The recipe video is on my TikTok and IG – please tag me @aceofspoons if you make this recipe!
Lemon Curd Recipe
Equipment
- Medium saucepan
- Whisk
- Large bowl (non metallic) – glass would be perfect
- Large sieve
- Glass jar (to store the curd in)
Ingredients
- 2 large or 3 medium lemons (zest and juice)
- 1 whole egg
- 1 egg yolk
- 150 g white sugar (3/4 cup)
- 100 g cold butter
- 1 tbsp cornflour
- pinch of salt (skip if using salted butter)
- a few drops of yellow food colouring (optional)
Instructions
Lemon Curd Recipe
- Start by zesting and juicing the lemons, keeping the zest and juice separate and setting aside.
- In a medium to large saucepan, add the sugar and lemon zest. Rub them together using your fingertips, until the sugar is fragrant.
- Next, add in the cornflour and stir well.
- Then add the juice of the zested lemons, mixing well to combine.
- Now, add in the egg, egg yolk and salt, then whisk until fully combined and smooth. There should be no visible streaks of egg white or yolk. Set aside.
- In a large non-metallic bowl (glass works well), add the cold, cubed butter. Place a fine-mesh sieve over the bowl and set aside.
- Place the saucepan over medium-low heat and whisk the lemon mixture constantly until it thickens into a glossy, smooth curd. This should around 5-8 mins. Do not stop whisking or it will curdle.
- Once the lemon mixture has thickened, it should coat the back of a spoon evenly. Pour the lemon mixture through the sieve over the bowl with the butter. Strain out the zest, and remove. Then whisk until the butter is fully incorporated and the curd is silky.
- This step is optional: at this stage, you can add in a few drops of yellow food colouring to make the curd super vibrant!
- Cover the surface of the curd with cling film (plastic wrap) to prevent a skin from forming. Once at room temp, transfer to a glass jar and store in the fridge for up to two weeks.
- Serve with desserts, ice cream, pies, or even on toast—enjoy! ☺️🍋✨


